How to record YouTube videos that are easier to edit
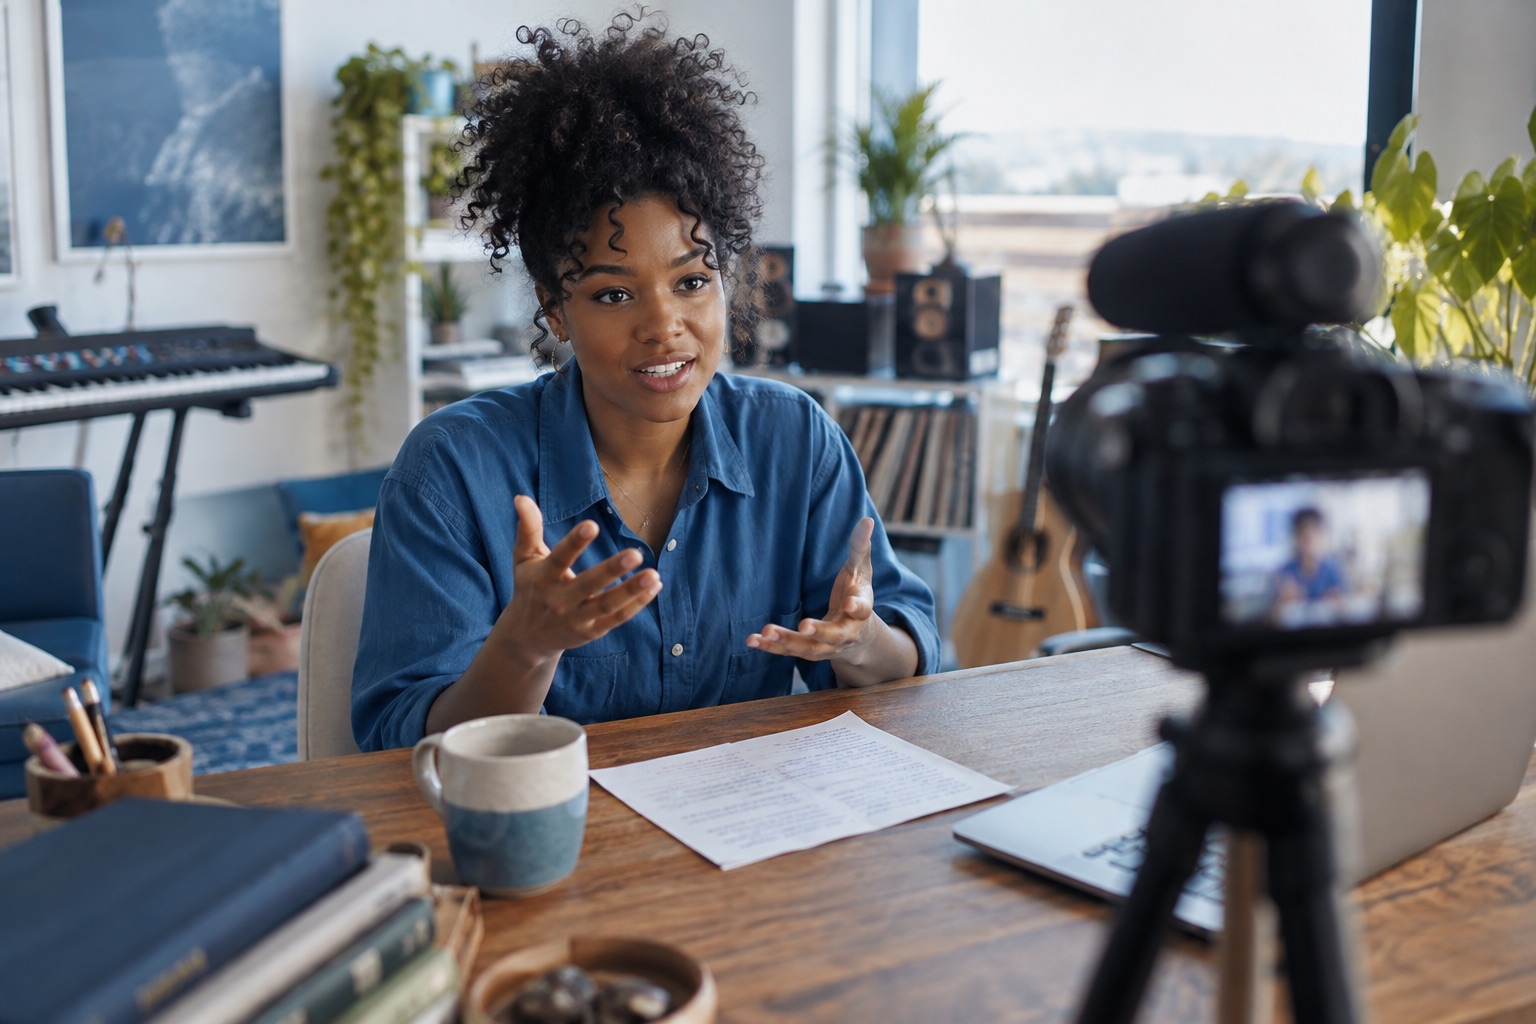
You do not need a complicated studio to record a useful YouTube video. For a solo explanation, start with a clear point, a camera that stays steady and speech you can understand. A few recording habits also make the edit much easier: test the sound, pause before a retake and capture the detail shots your explanation actually needs.
Plan the viewer's outcome before choosing equipment
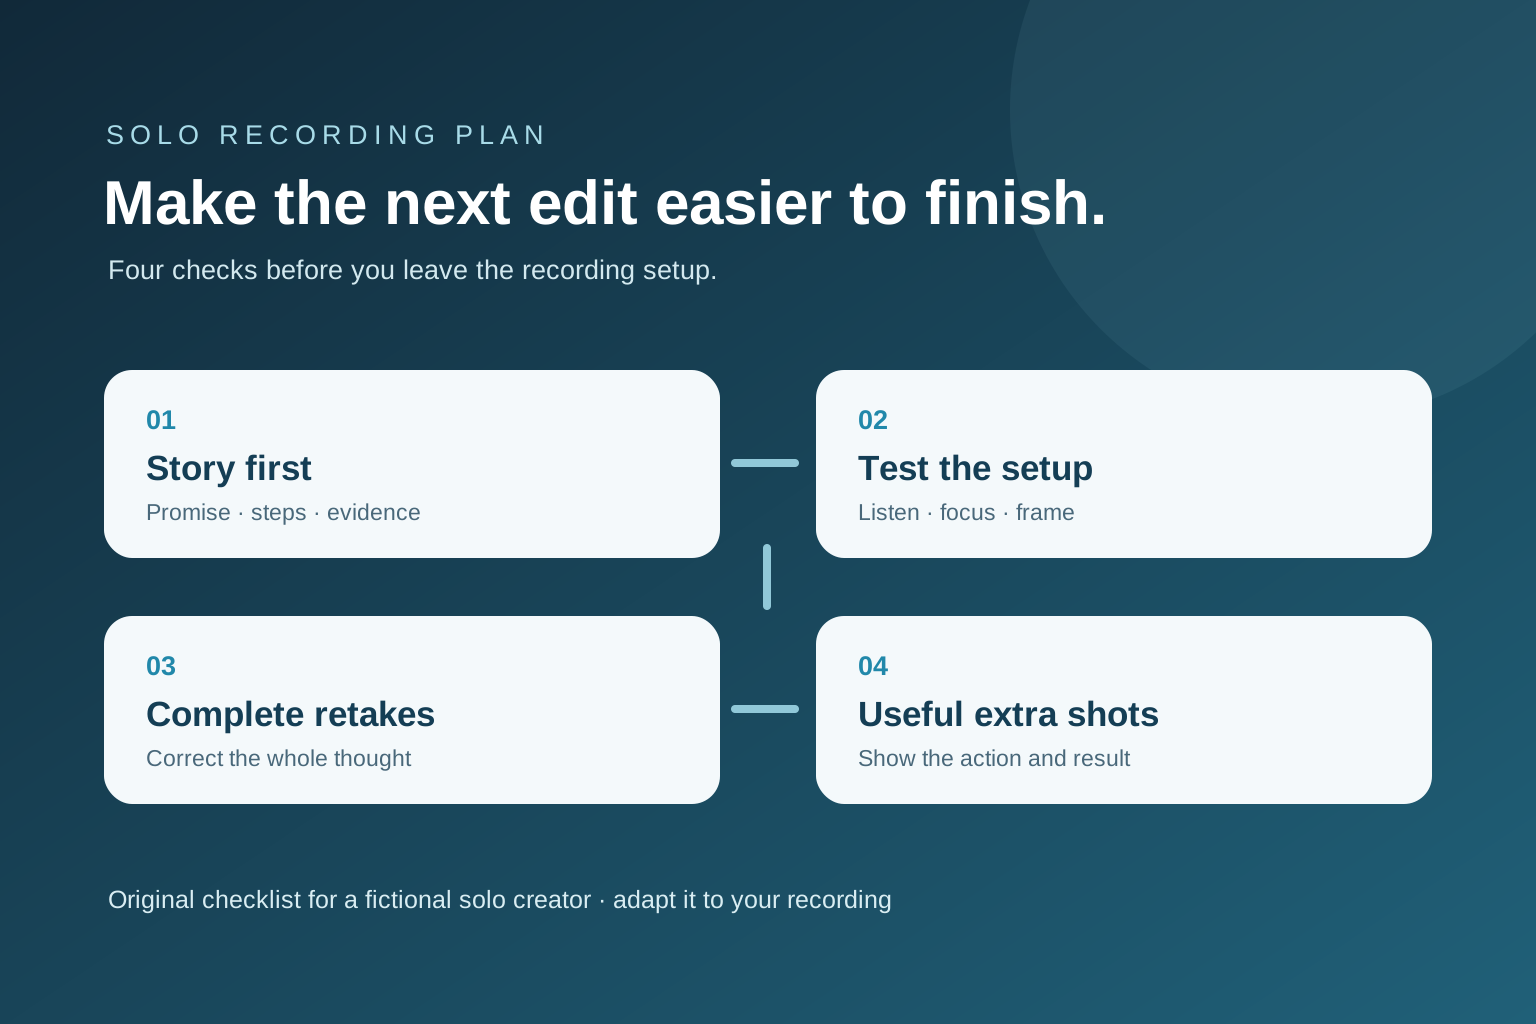
Write one sentence describing what someone will know or be able to do after watching. Break the explanation into an opening, two or three useful steps, a demonstration or example, and a short ending. This is a recording outline, not a demand to read every word from a script.
Mark any step that has to be seen. If you explain a setting on your computer, plan a screen capture; if you describe a physical process, plan a close shot of the object. A shot list with a purpose beside each shot prevents you from returning to the camera setup because the edit lacks one necessary picture.
Set up picture and sound, then record a short test
Use a phone or camera you already understand. Place it securely at a comfortable eyeline and leave enough room around your face for captions or a later crop. Put a soft light or window in front of you rather than a bright window directly behind you. Check focus and exposure on the actual seat and background you will use.
Record a short test while speaking at your normal volume. Play it back through headphones, listen for a fan, traffic, echo or clothing rubbing the microphone, and watch for an out-of-focus face. Move or quiet the source of the problem before recording the whole piece. YouTube's filming and equipment guidance, linked below, also recommends checking cameras, lights and microphones before the session.
‘This setting fixes every echo—sorry, I meant it reduces room echo.’ The recording stops immediately after the correction.
Pause, then record a full new sentence: ‘This setting can reduce room echo in this example, but it will not repair every recording.’ Leave a little room before and after the sentence.
Invented example. A complete corrected take preserves the speaker's actual qualification and gives the edit clean boundaries.
Record complete retakes with room to cut
If you stumble halfway through a point, pause, take a breath and say the whole thought again from a natural starting place. Starting at the first word after the mistake can leave an edit with no usable lead-in. Leave a short quiet gap between attempts so you can locate the boundary while reviewing the recording.
Keep important numbers, names and qualifications together in a complete take. If you change a claim while speaking, make the corrected statement from the beginning rather than asking an editor to splice words from incompatible attempts. A second take with a small imperfection may be better than a fluent take that says the wrong thing.
Capture useful supporting shots before you pack up
Film the action, object or screen state that proves the point you just made. Give each shot a few steady seconds before and after the action; do not move the camera away the instant the interesting part happens. Record room tone for a moment after the main take if you may need to repair a noisy audio join.
A detail shot should answer a viewer's question, not merely hide every visible jump cut. Write down which sentence each extra shot belongs to. For a tutorial, the most useful coverage often shows the prerequisite, the action and the result. A solo commentary video may need no B-roll at all.
Check the files before you start editing
Verify that the main recording actually contains picture and sound from beginning to end. Label or group the clips by session, keep the original files unchanged and make a backup that includes the media, not just the editing project. If audio was recorded separately, keep the matching camera and audio files together.
During the first edit, pick complete takes before trimming every breath. Motionlark's talking-head guide explains how to preserve meaning across retakes; the YouTube editing plan links that decision to captions, supporting footage and a final export.
- The video's promise and main steps are written down.
- A test clip confirms focus, framing and understandable speech.
- Each corrected claim has a complete usable take.
- Every supporting shot has a specific purpose.
- Original camera and audio files are verified and backed up.
Further reading
Checked 30 September 2026. Platform requirements can change.
Make your next edit simpler.
Read more about editing with Motionlark.
Download for Mac Plan the first edit